Welcome to Stack for Splunk Enterprise!
Use this quick start guide to accelerate your time-to-value.
1. Console Setup
After signup, you’ll receive an email with the Console setup link. Verify your email and set your password to access your zuykn Console, where you can:
- Monitor system health
- Access Splunk via the GUI or CLI
- Grab install scripts
- Perform stack actions
- Manage feature enablement
- Upgrade your stack
- Destroy and rebuild Splunk if needed
- Submit support tickets
2. Provisioning
When you first log in to your zuykn Console, your stack may still be provisioning, which typically takes about 20 minutes. You’ll receive an email once it’s ready, and all settings and features will then be available.
3. Initial Configuration
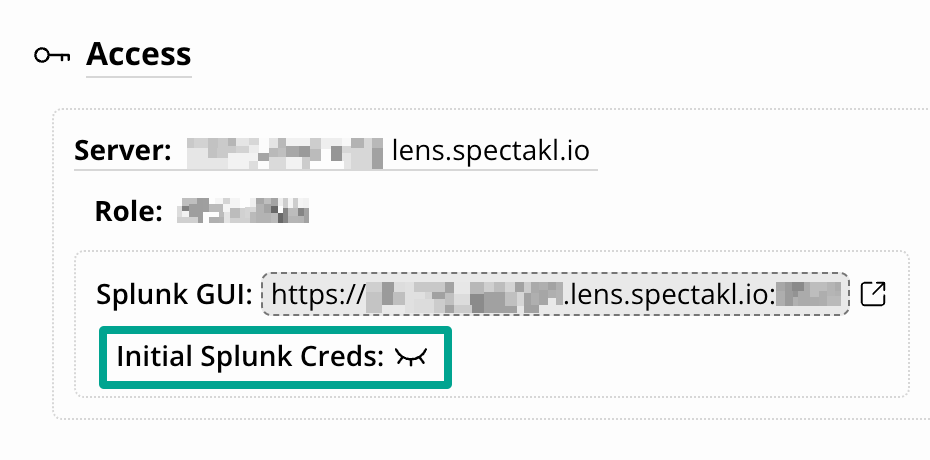
After your Splunk stack is provisioned, go to the Stacks tab:
1. Retrieve your initial Splunk credentials and GUI URL, then log in. You’ll be prompted to reset your password upon first login.
2. After logging into Splunk, set your timezone from the user dropdown: Administrator ▼ → Preferences.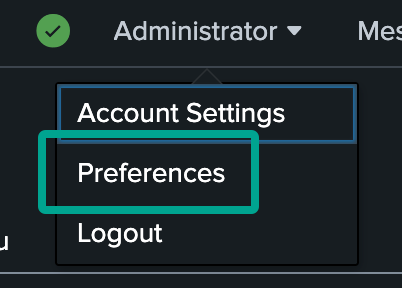
3. To SSH into your Stack and access the CLI, install cloudflared using the interactive installer. Click the copy button for your OS in the Stacks tab, then paste the command into your terminal.
4. Next, add your SSH MFA token to an authenticator app (we recommend Authy).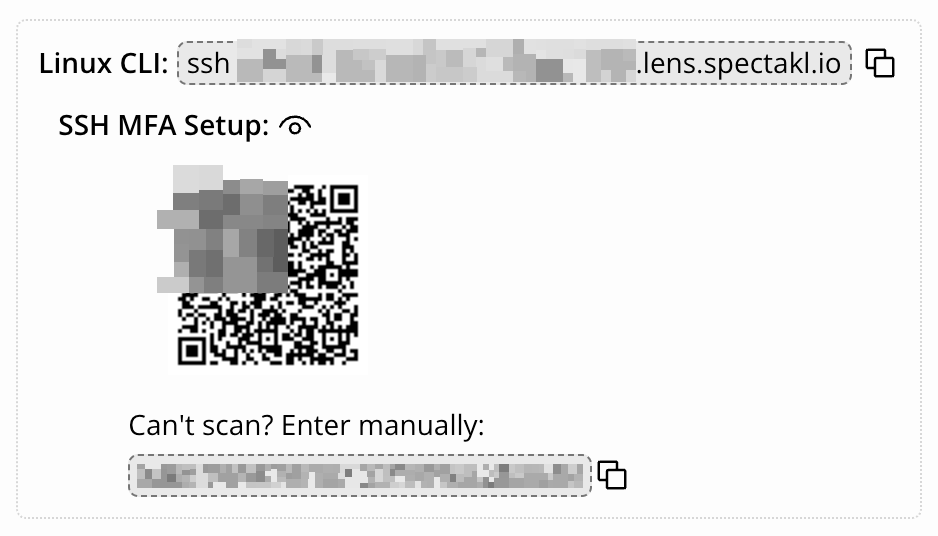
4. Data Collection
1. From the Stacks tab, enable a Collect feature (Windows and/or Linux Logs). Stack automatically installs the required add-ons, sets up indexes, and creates serverclasses by OS type.
2. From the Security tab, add your public IP(s) or IP blocks to allow inbound traffic.
3. Deploy your first Universal Forwarder on Windows or Linux using the automated terminal installer. From the Stacks tab, click the copy button for the OS and paste the command into the terminal.
The script will:
- Install the latest Splunk UF
- Connect it to your stack
- Configure deployment client settings
- Begin collecting data (if Collect features are enabled)
💡 Use script parameters with automation tools to roll out across multiple hosts.
5. Start Splunking
After a few minutes, your data will begin flowing. You can:
- Search indexed data in Splunk
- Ingest additional sources
- Enable more features
- Submit a support ticket for assistance